
Of all the homemade non-dairy milks, Soy Milk is the most involved. Yet, having said that, it is still super easy. And once you try making these non-dairy milks for yourself you won’t believe you ever bought them ready made.

Here you can control what ingredients goes into your non-dairy milk as well as not contributing to the consumption of natural resources that goes into manufacturing, distributing and disposal of large quantities of products and single-use packaging.
What you will need:
- 1/2 Cup dried Organic Soy Beans (I buy mine in bulk with a reusable bulk bag)
- Water and container for soaking 12 hours
- 4 Cups of filtered water + 2 Cups of filtered water
- Blender
- Large pot with lid for boiling
- Cheesecloth or Nut-Milk Bag

What you will do:
Prepare the soy beans
- Rinse and sort through soy beans. (Dried soy beans are round).
- Place in a large bowl and cover with fresh water. Allow to soak overnight, at least 12 hours. The soy beans will go from round to oval in shape and expand. Change the water at least once through the soaking period.
- After soaking, rinse thoroughly.
- In a bowl of water massage the skins off the beans. Some people skip this step.
- The skins should float to the top of the water while the beans will sink to the bottom, making it easier to remove the skins from the water.
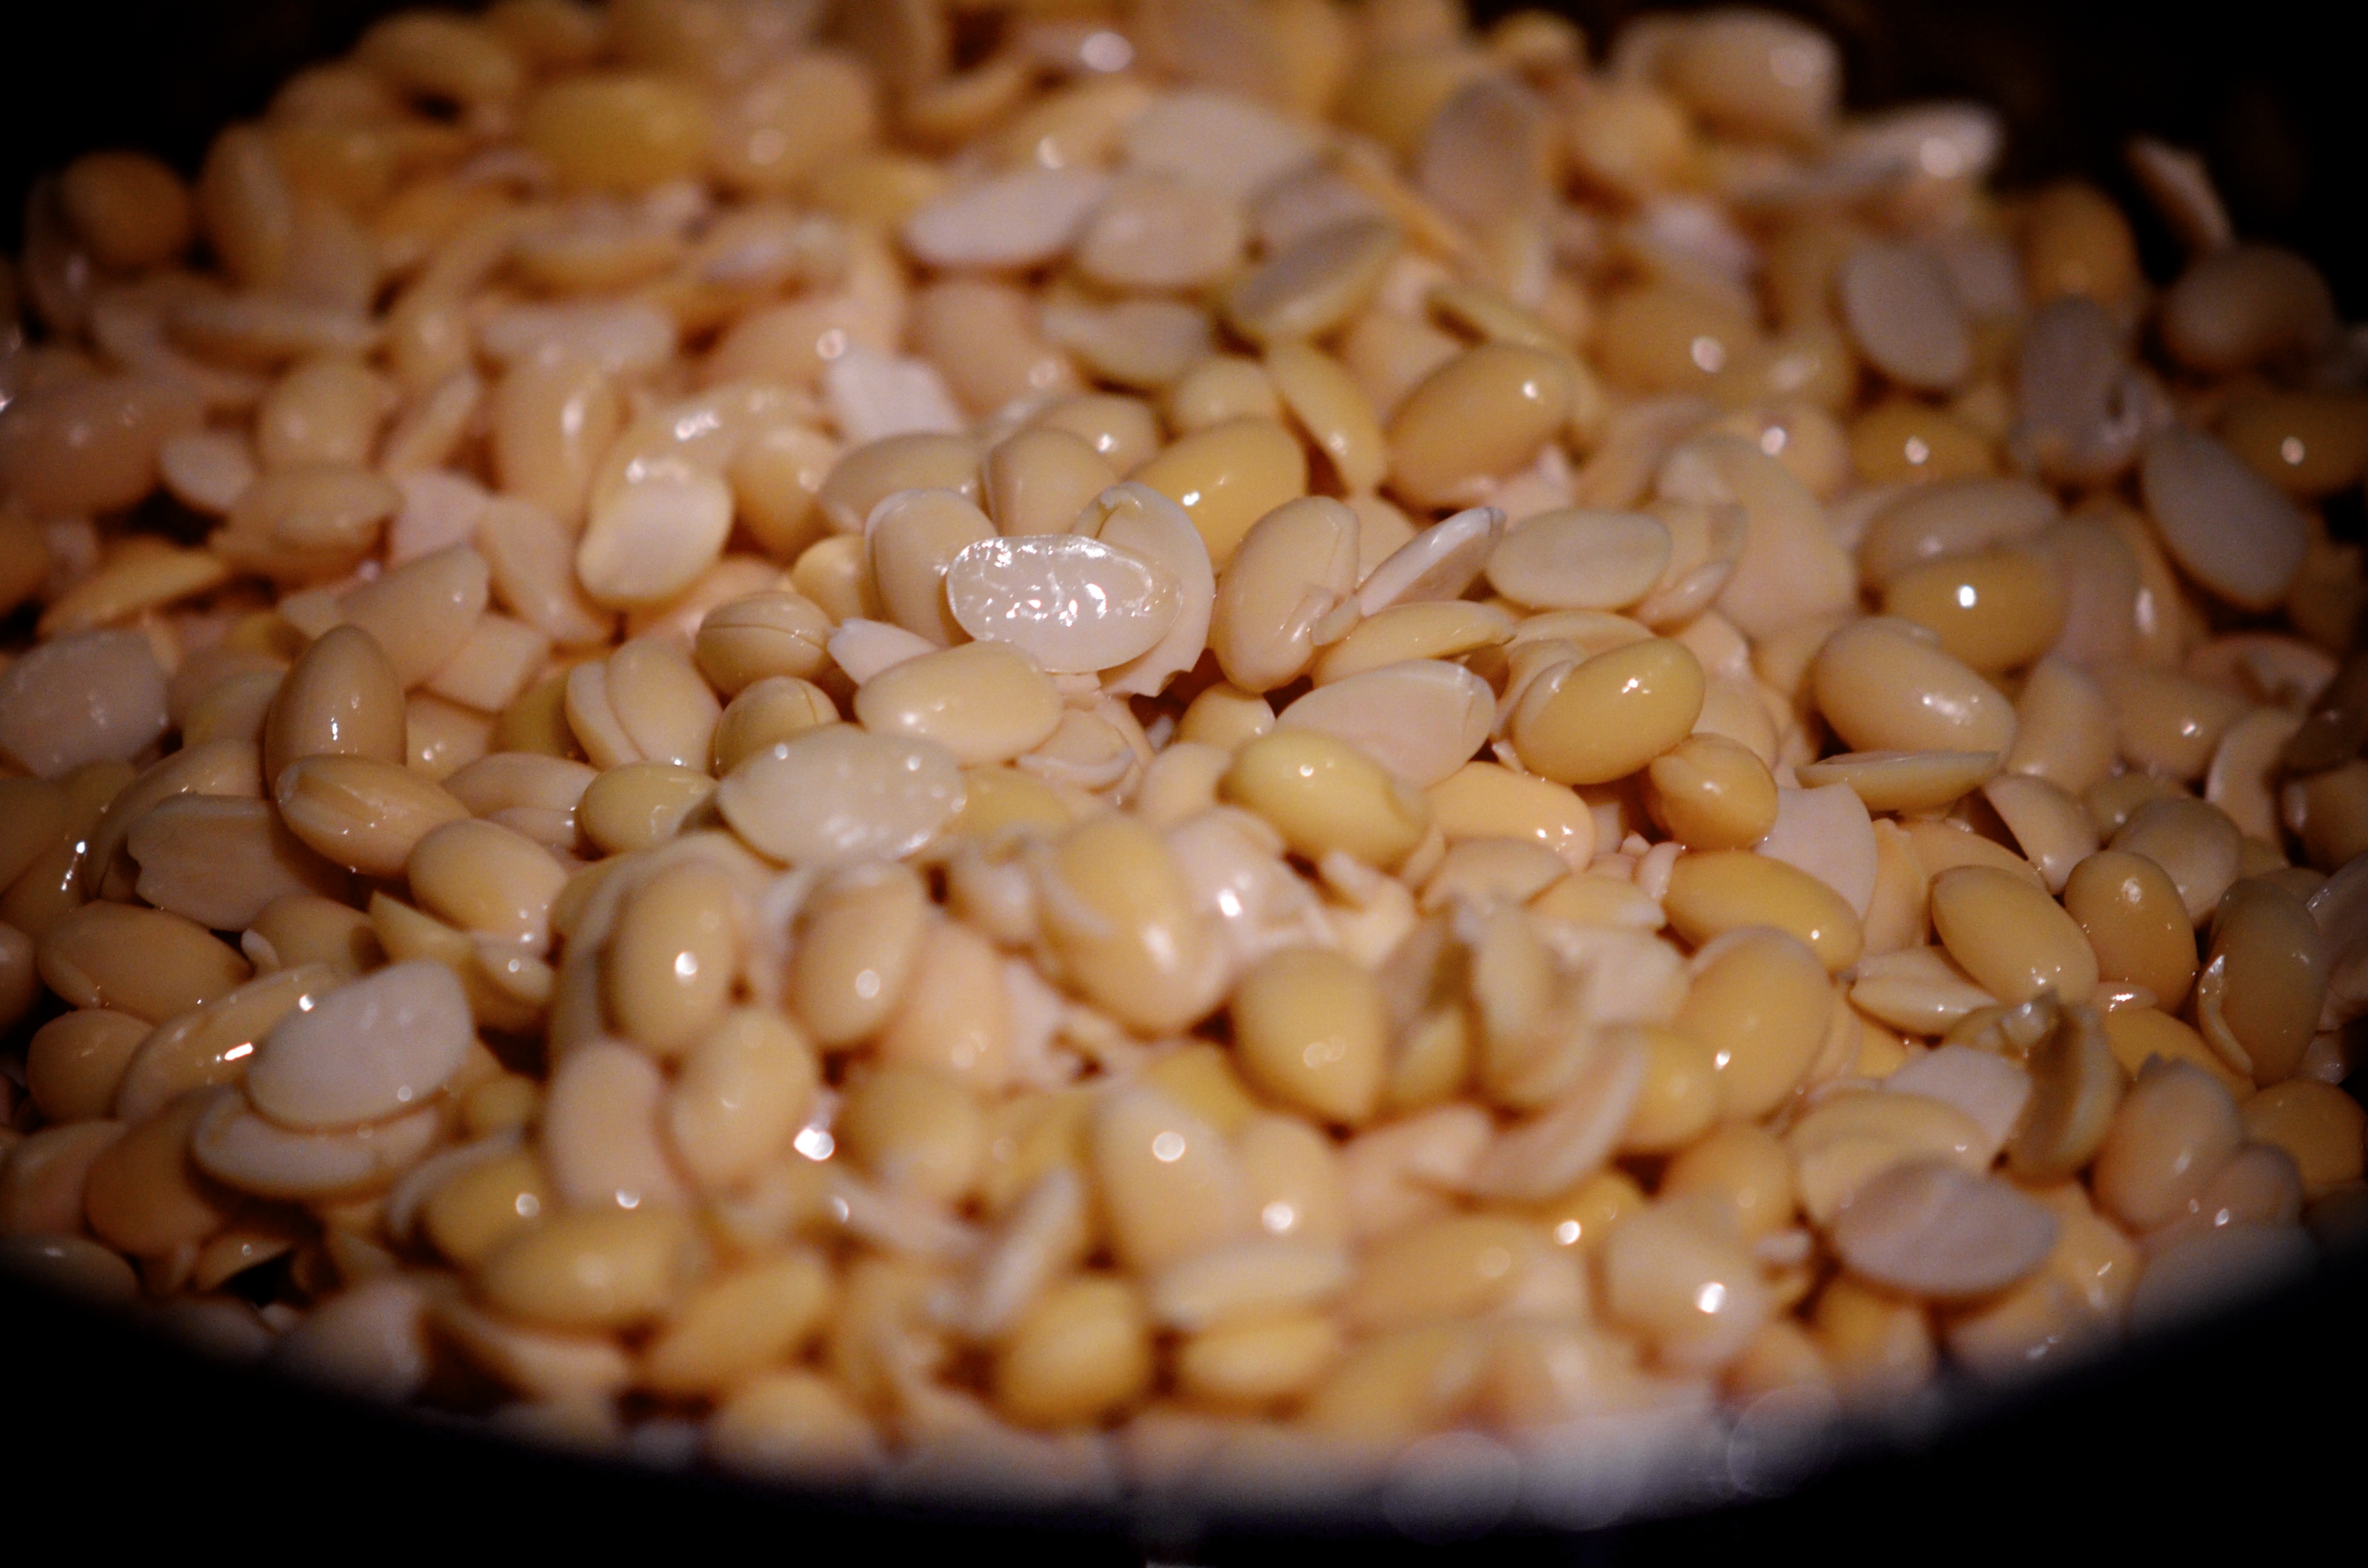
Soaked Soy Beans Skins Removed
Skins
In the blender
- Put 4 Cups of fresh filtered water into your blender container.
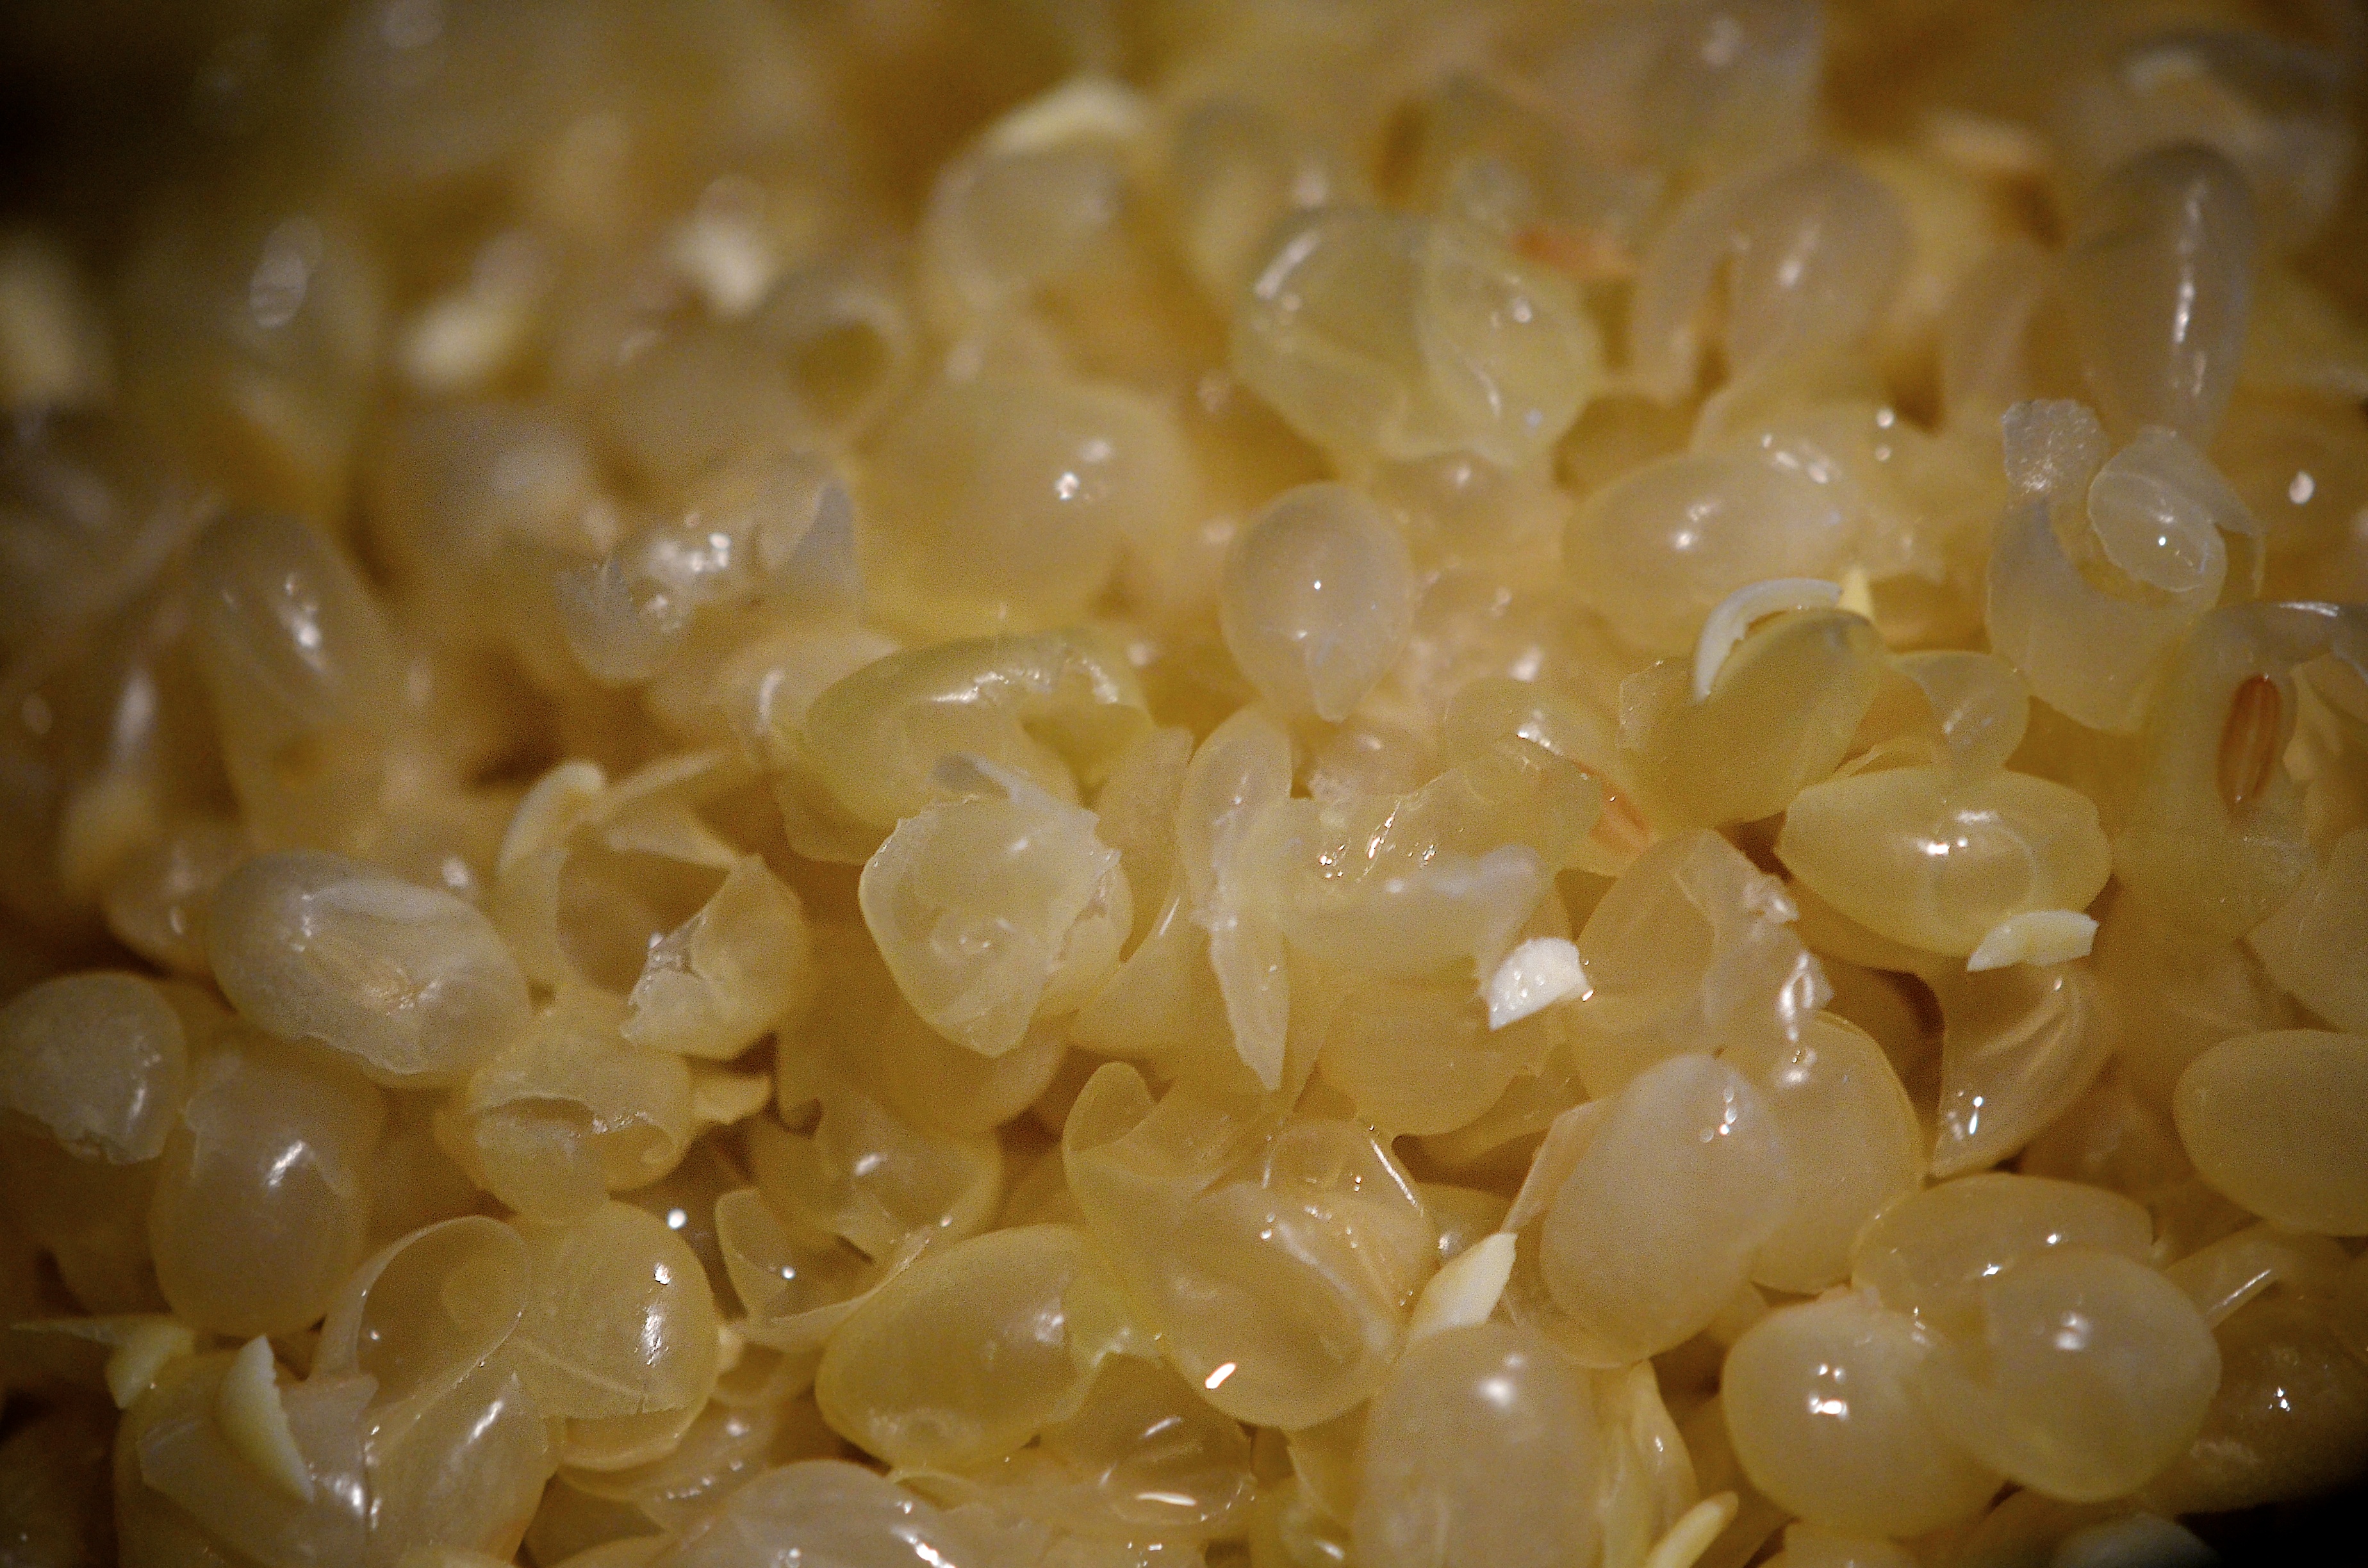
- Add the soaked and rinsed soy beans (skins removed) to the blender container. Place lid on container.
- Blend for a couple minutes, maybe more depending on your blender.
- The result will be a thick paste.

Blended Soy Beans
Transfer to pot

Pouring into pot
- Pour contents of blender into large pot. And add an additional 2 Cups of filtered water. Turn heat to medium high.
- Watch pot as soy paste begins to boil. A foam may arise. You may skim this off throughout. I found that since I thoroughly removed all the skins I do not encounter as much foam or boil over. I watch very carefully because it is in the initial stages that the soy milk tends to foam up and boil over, so stirring at this point is crucial.
- Soy paste needs to cook at a simmer for at least 20 minutes, stirring occasionally and cover lightly when you are confident that no boil over is imminent.
- After the 20 minutes or so, remove from heat and allow to cool.
- You may like to make any optional additions like salt or sweeteners at this point.

Cooked
Straining the Soy Milk
- Once the cooked soy paste has cooled sufficiently, pour it through your Nut-Milk Bag over top a large mixing bowl.
- Transfer to a clean glass container with a tight fitting lid and refrigerate. Soy milk will refrigerate for four to five days.
- The okara, which is what remains in the Nut-Milk Bag after the liquid is extracted can be used for other purposes but up to this point I have only added it to my compost. One day I will learn what to do with it.
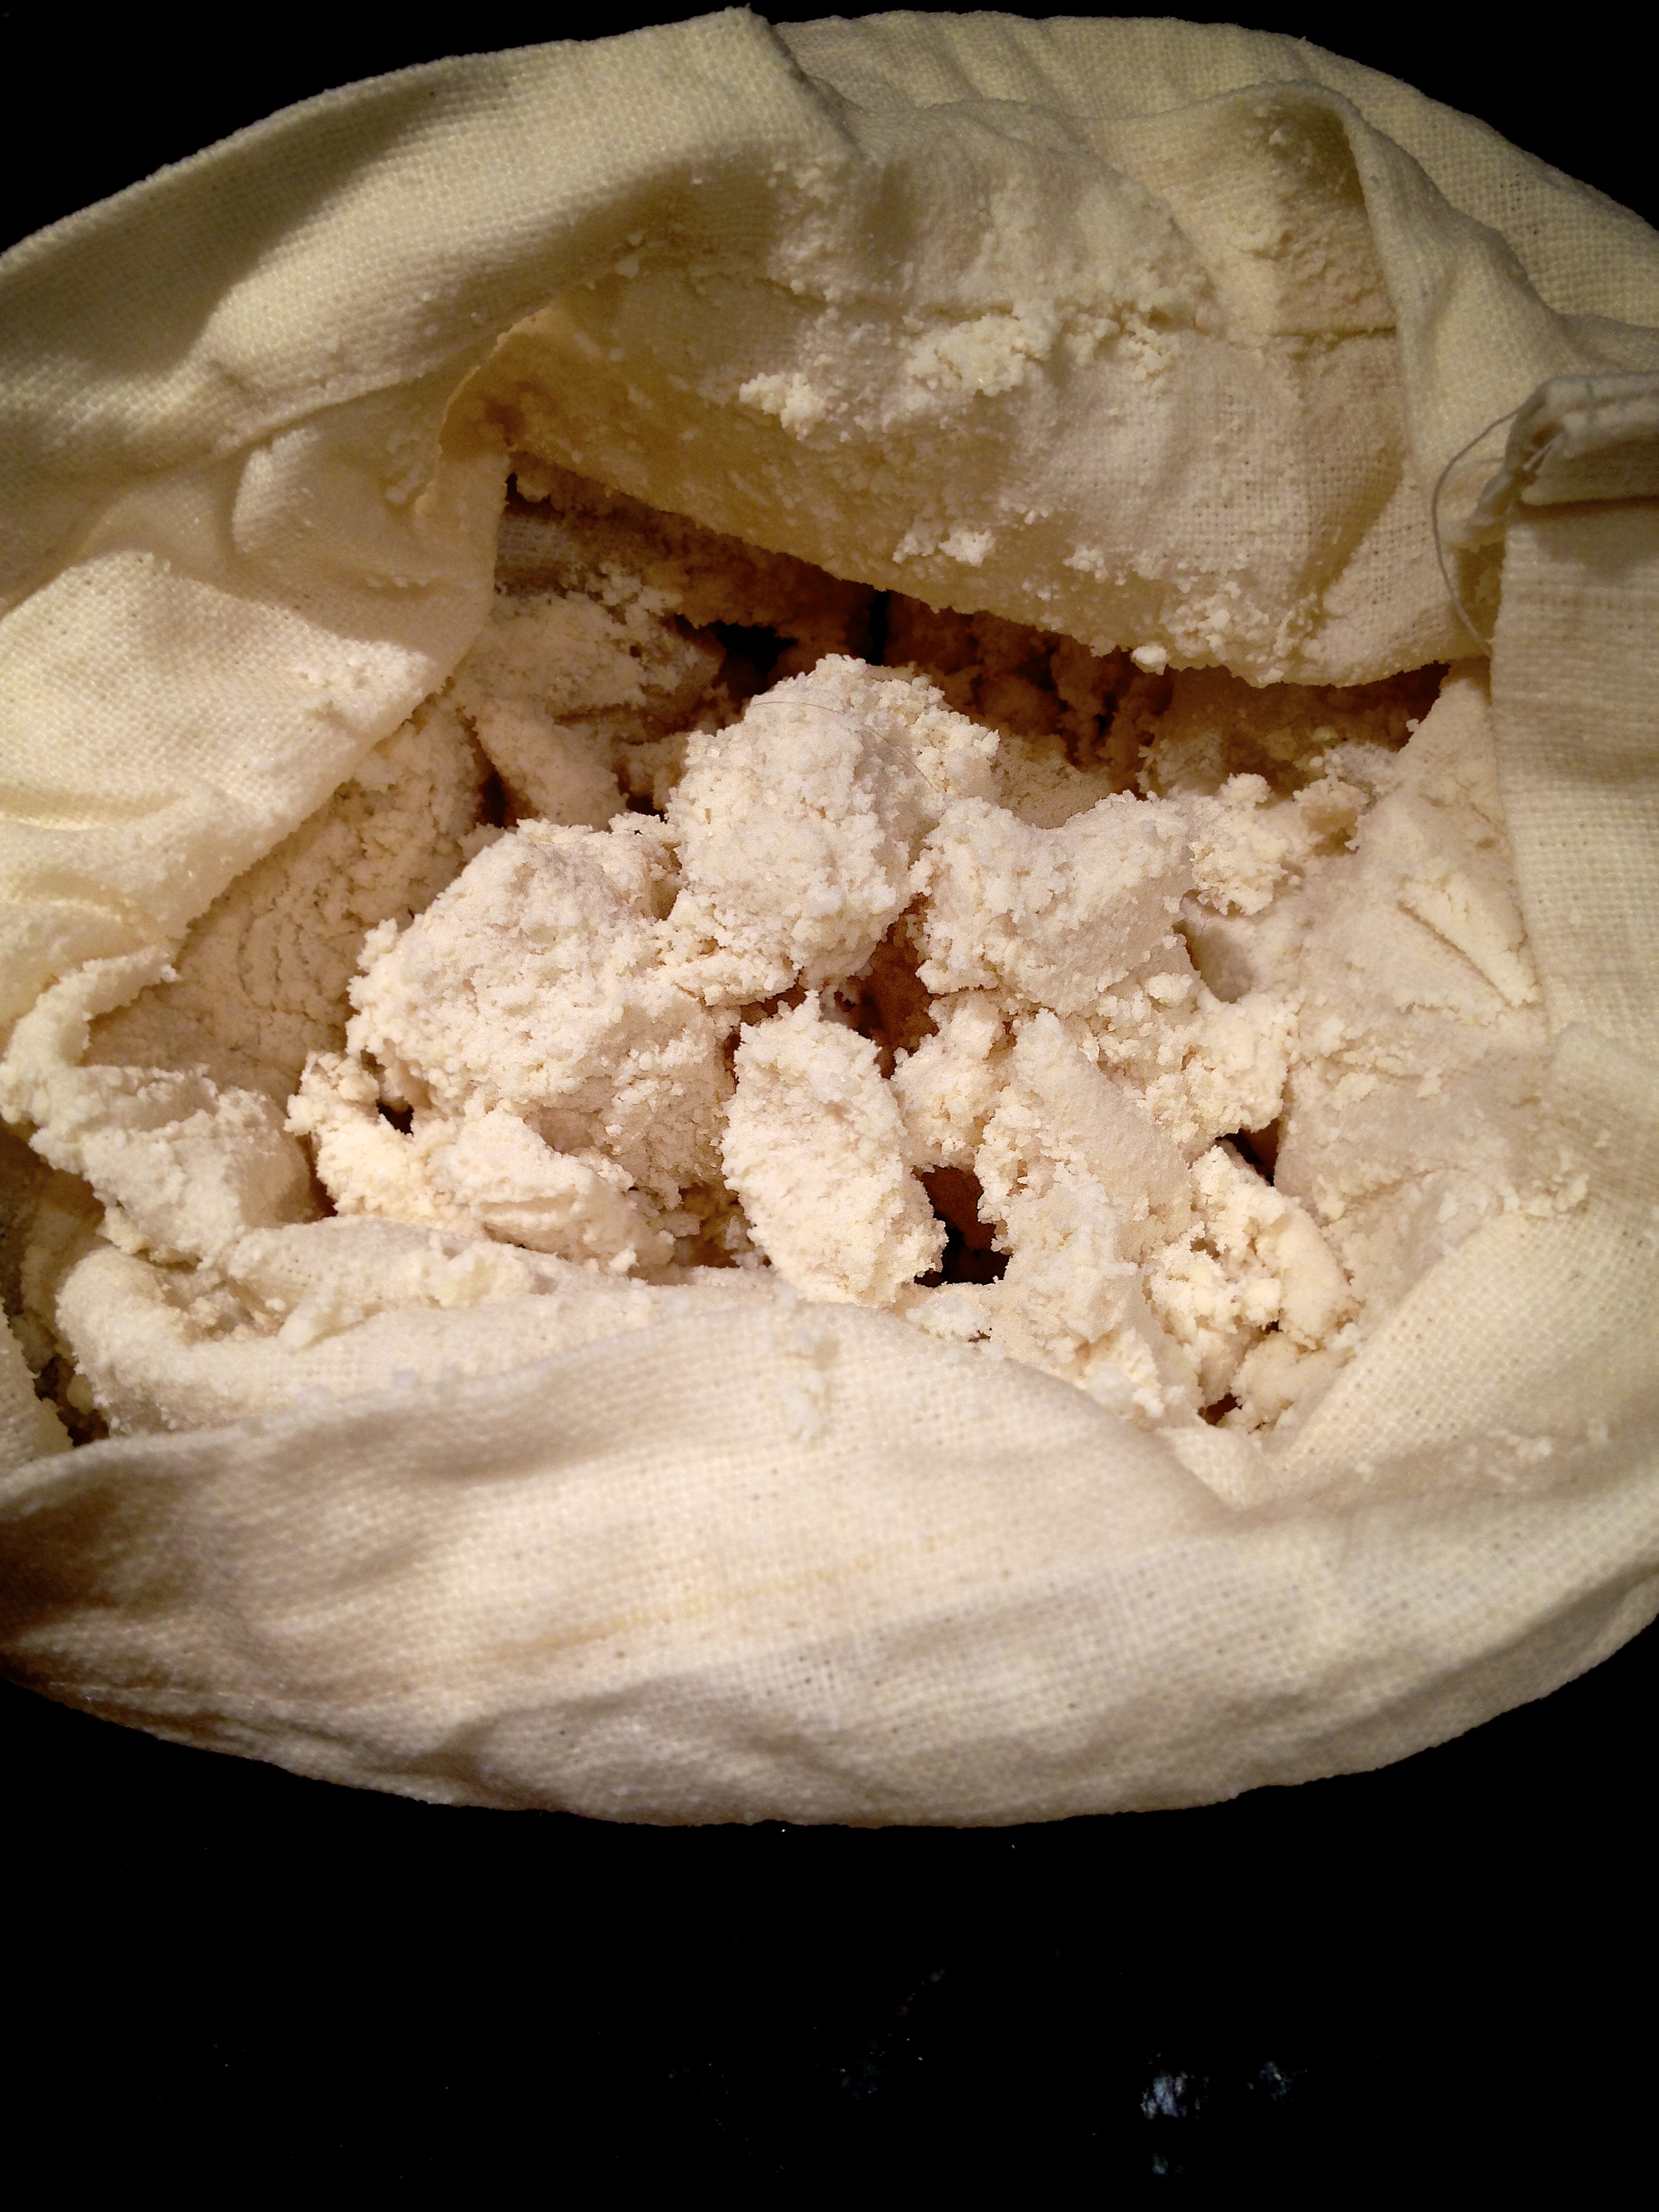
Okara: What’s left in Nut-Milk Bag
NOTE: I have read different approaches to making Soy Milk. Another version is to strain the okara from the milk before boiling. I have not tried this, but will experiment with this the next time I make soy milk.
My son tried the soy milk hot off the press and gave it a thumbs up, though none of us drink non-dairy milks from the glass but rather I make them to use in smoothies, baking or to add to cooked grain cereals.

How do you fuel?